Getting Started
Welcome to Security Hero RMF!
This guide walks you through everything from completing your AWS Marketplace subscription, to creating your admin account, connecting your AWS cloud environment, and viewing your first security report.
Before You Begin
To use Security Hero RMF, you will need:
- An AWS account (with admin privileges or IAM Role creation permissions)
- Access to AWS Marketplace
- The Account ID of the AWS account you want to analyze
During the AWS connection process, CloudFormation is used to create a dedicated IAM Role for Security Hero.
Step 0: Subscribe to Security Hero RMF
Before you can start, you need to subscribe to the solution on AWS Marketplace.
-
Search for 'Security Hero RMF' in the AWS Marketplace search bar to find the solution.
- Go to the Marketplace: Use the link above to log in with your AWS account, then search for 'Security Hero RMF' and navigate to its product page.
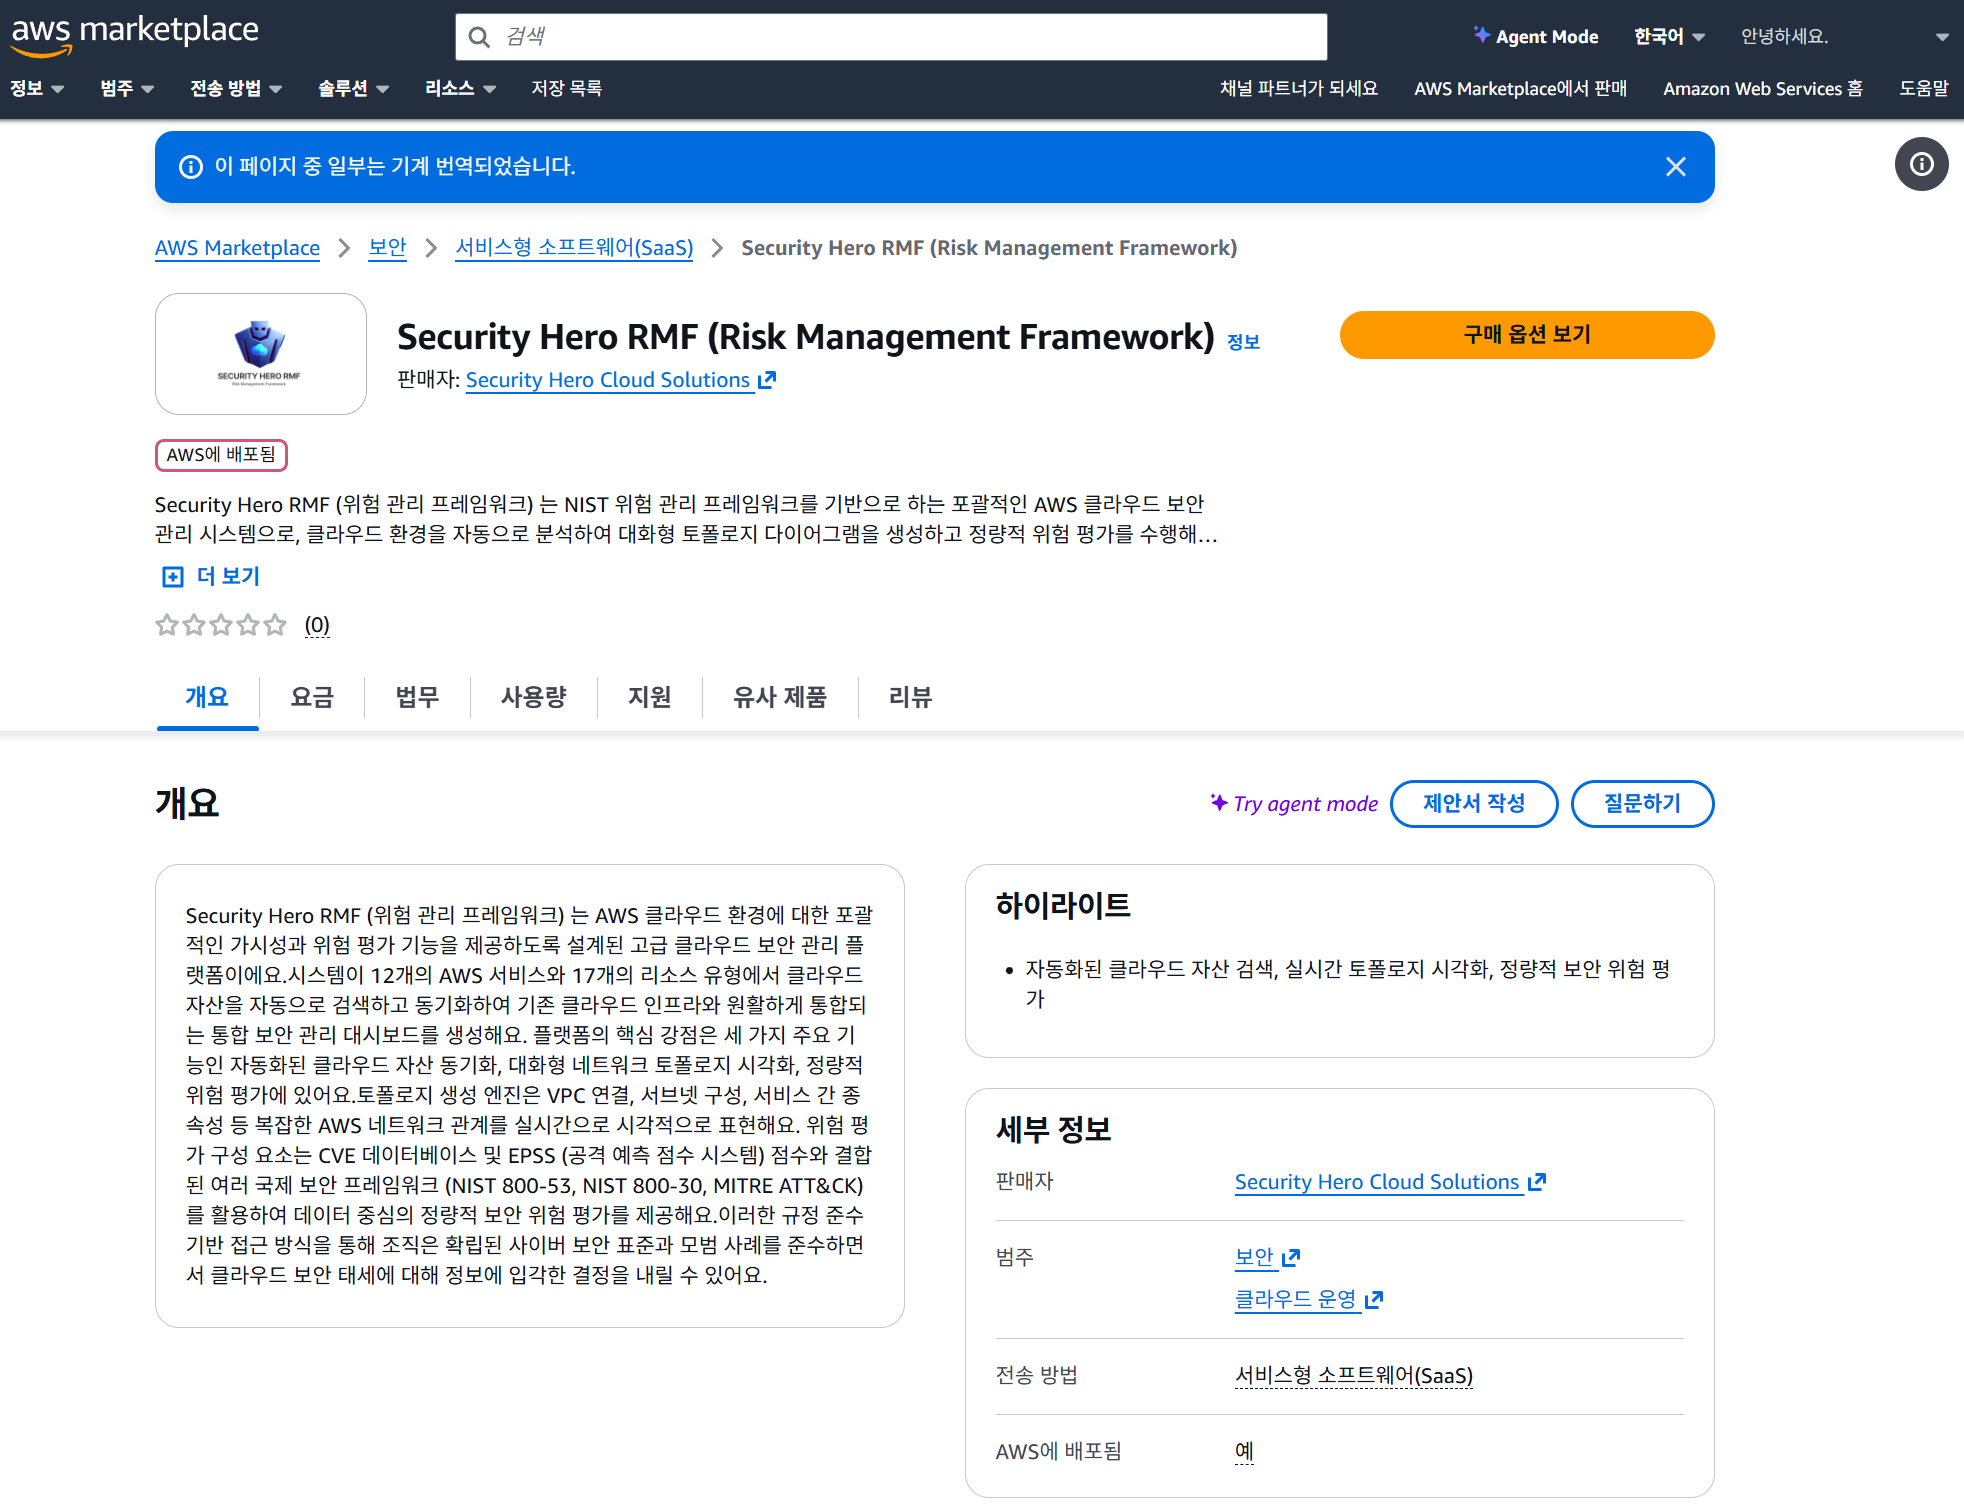
- Subscribe: On the subscription page, review the product details, then click [Subscribe] to complete your subscription.
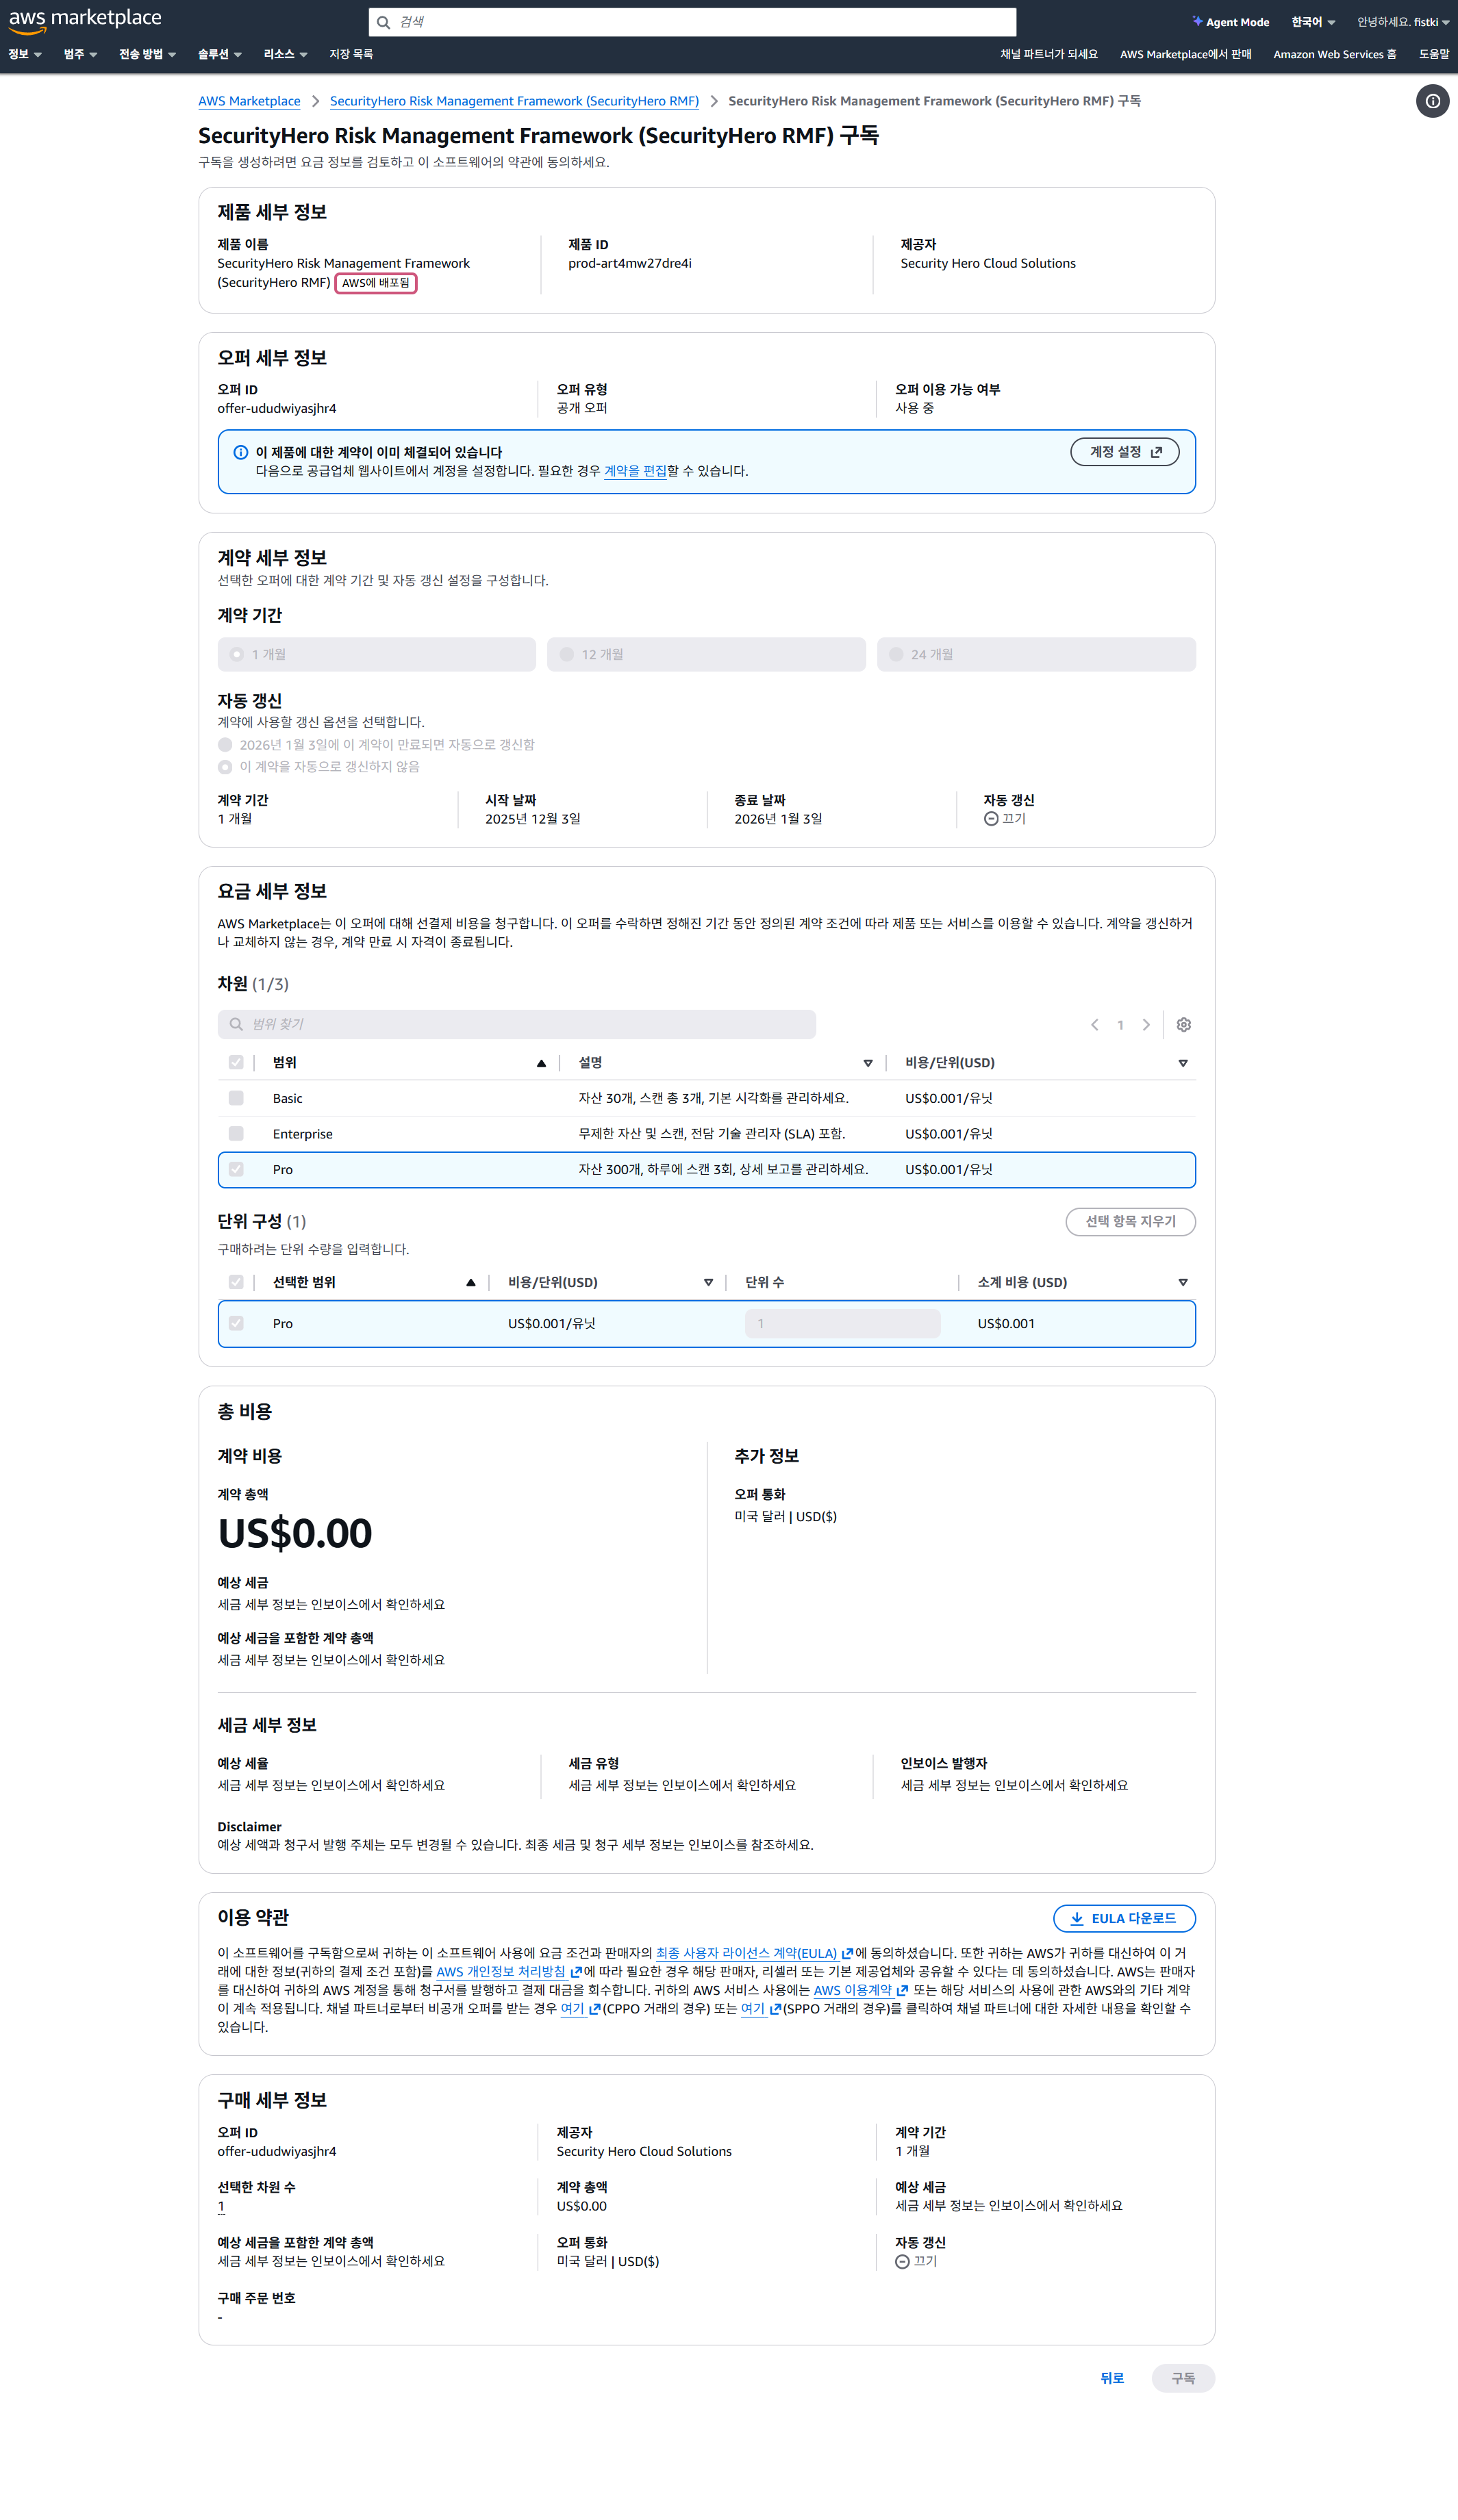
Billing is handled automatically through AWS Marketplace based on your usage.
Step 1: Create Your Admin Account
Once your AWS Marketplace subscription is complete, you will be automatically redirected to the Invitation Acceptance page. Here you will create the initial admin account to manage your Security Hero RMF organization.
- Verify subscription: The page briefly shows a subscription verification status (
Verifying your subscription...). - Enter your details: Once verification is complete, the account creation form appears.
- Username: The admin ID you will use to log in
- Company Name: Your company or organization name
- Email: A valid admin email address
- Password: Your login password
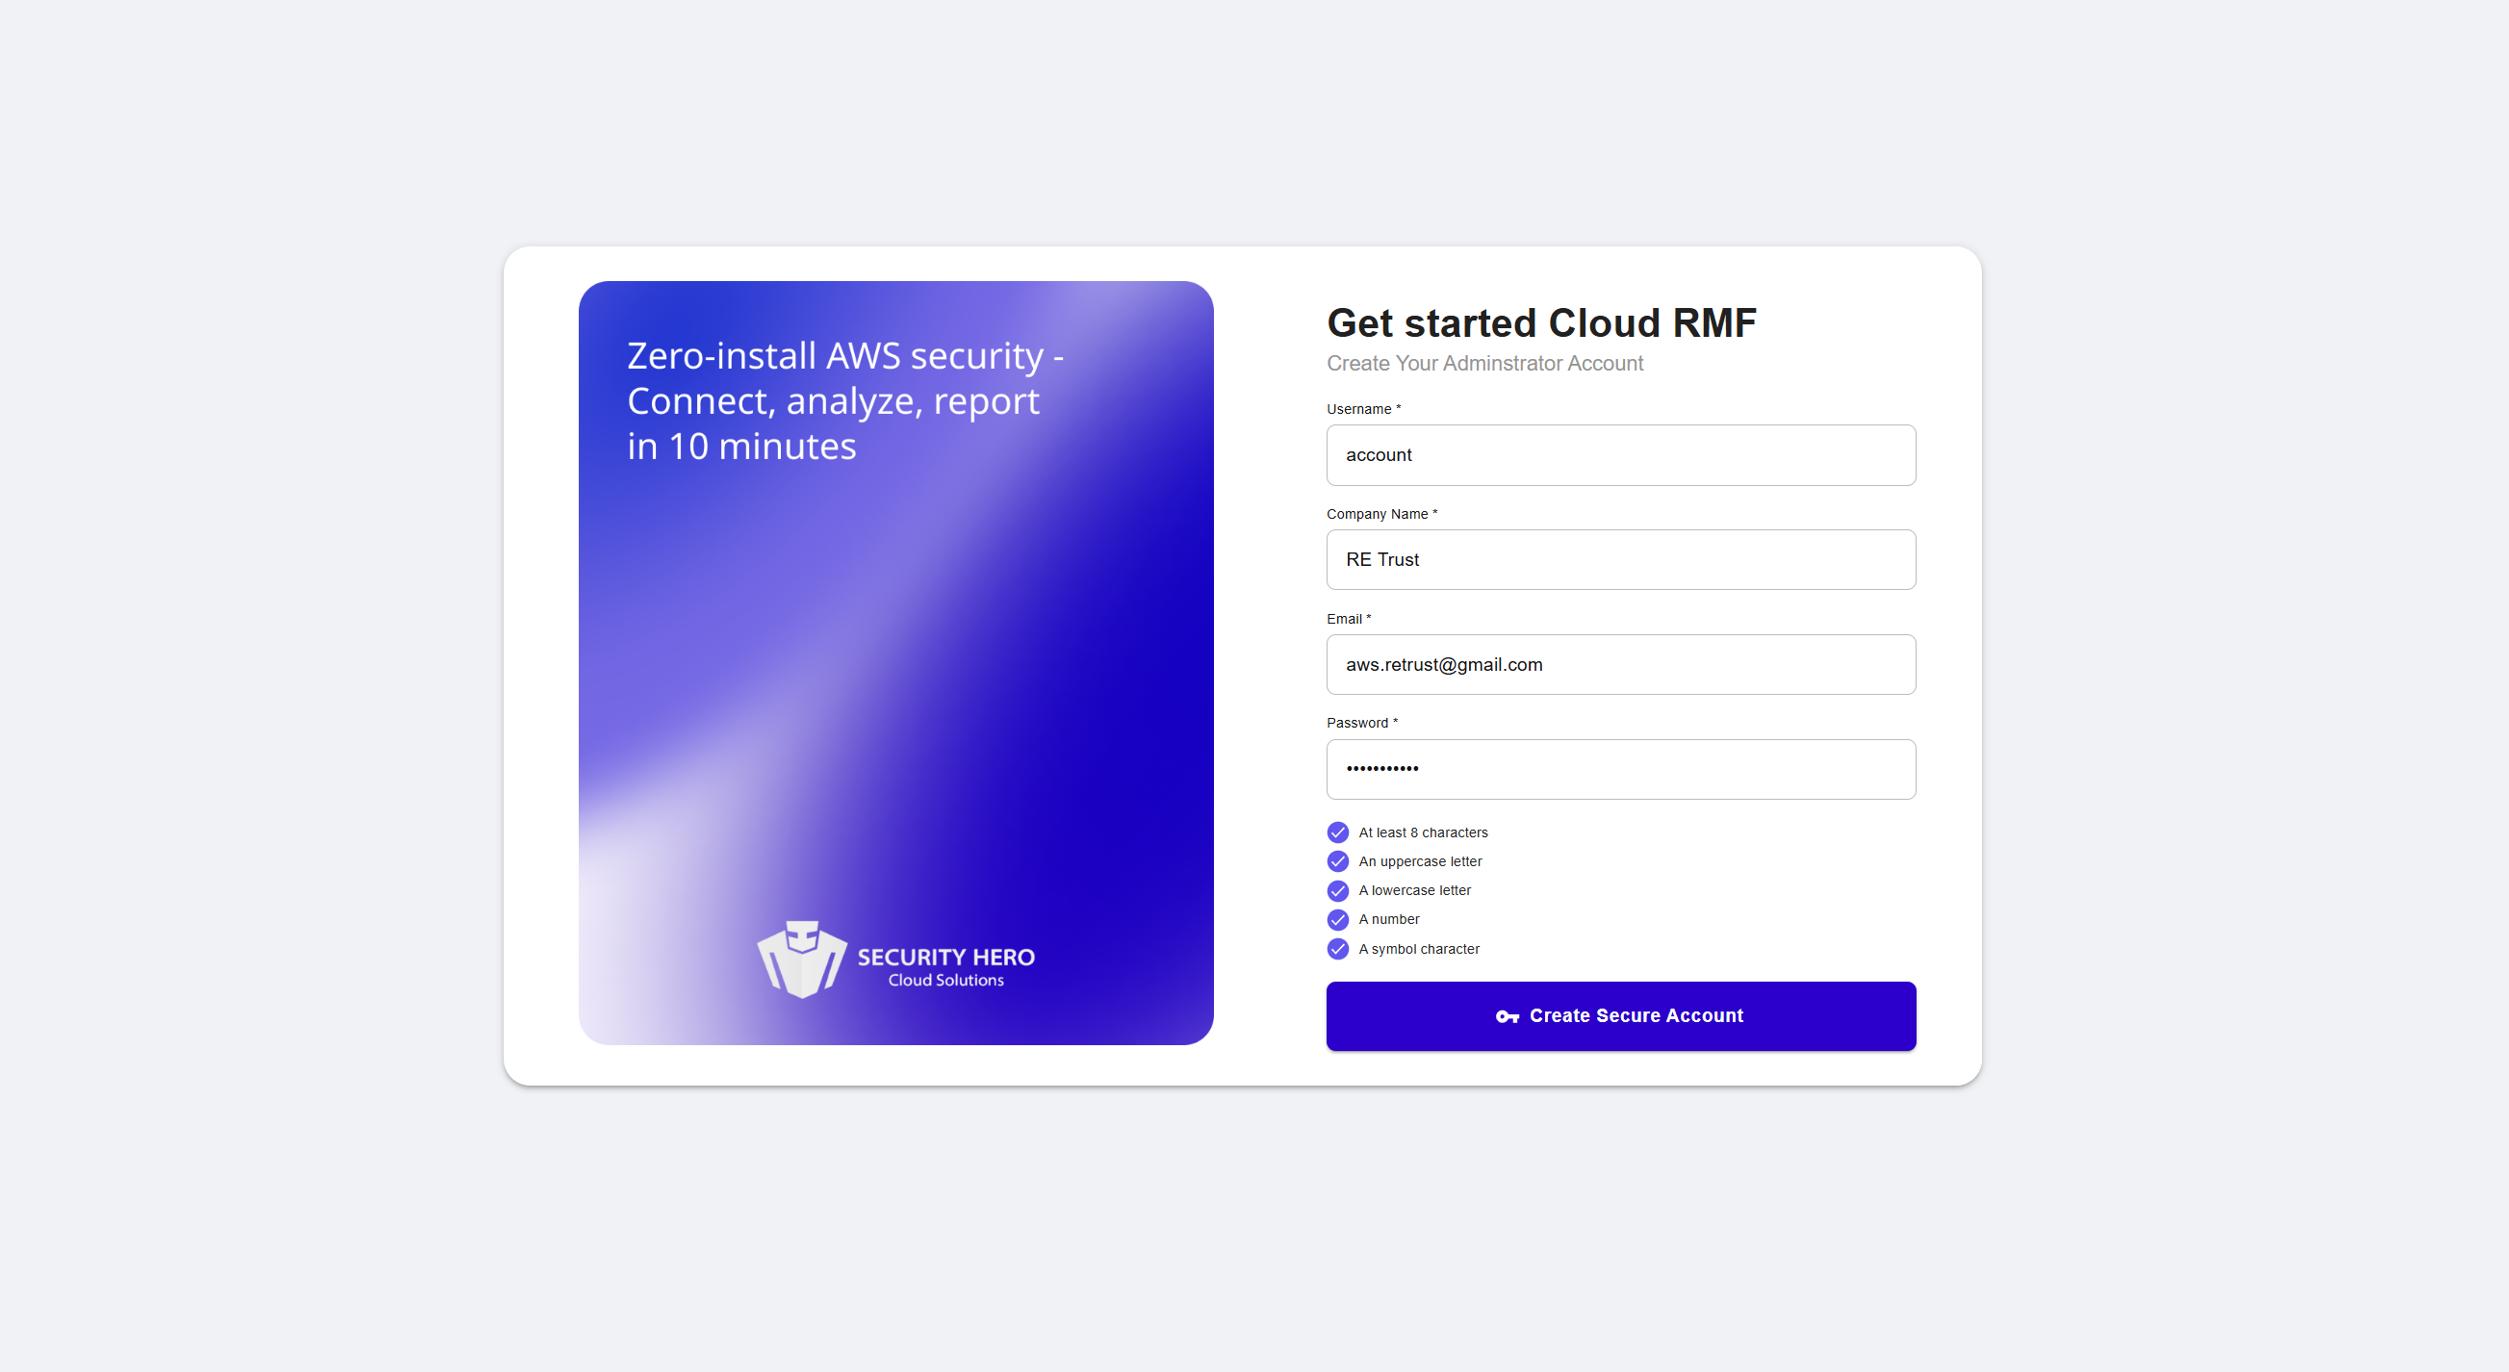
- Create account: After filling in the details, click [Create Secure Account].
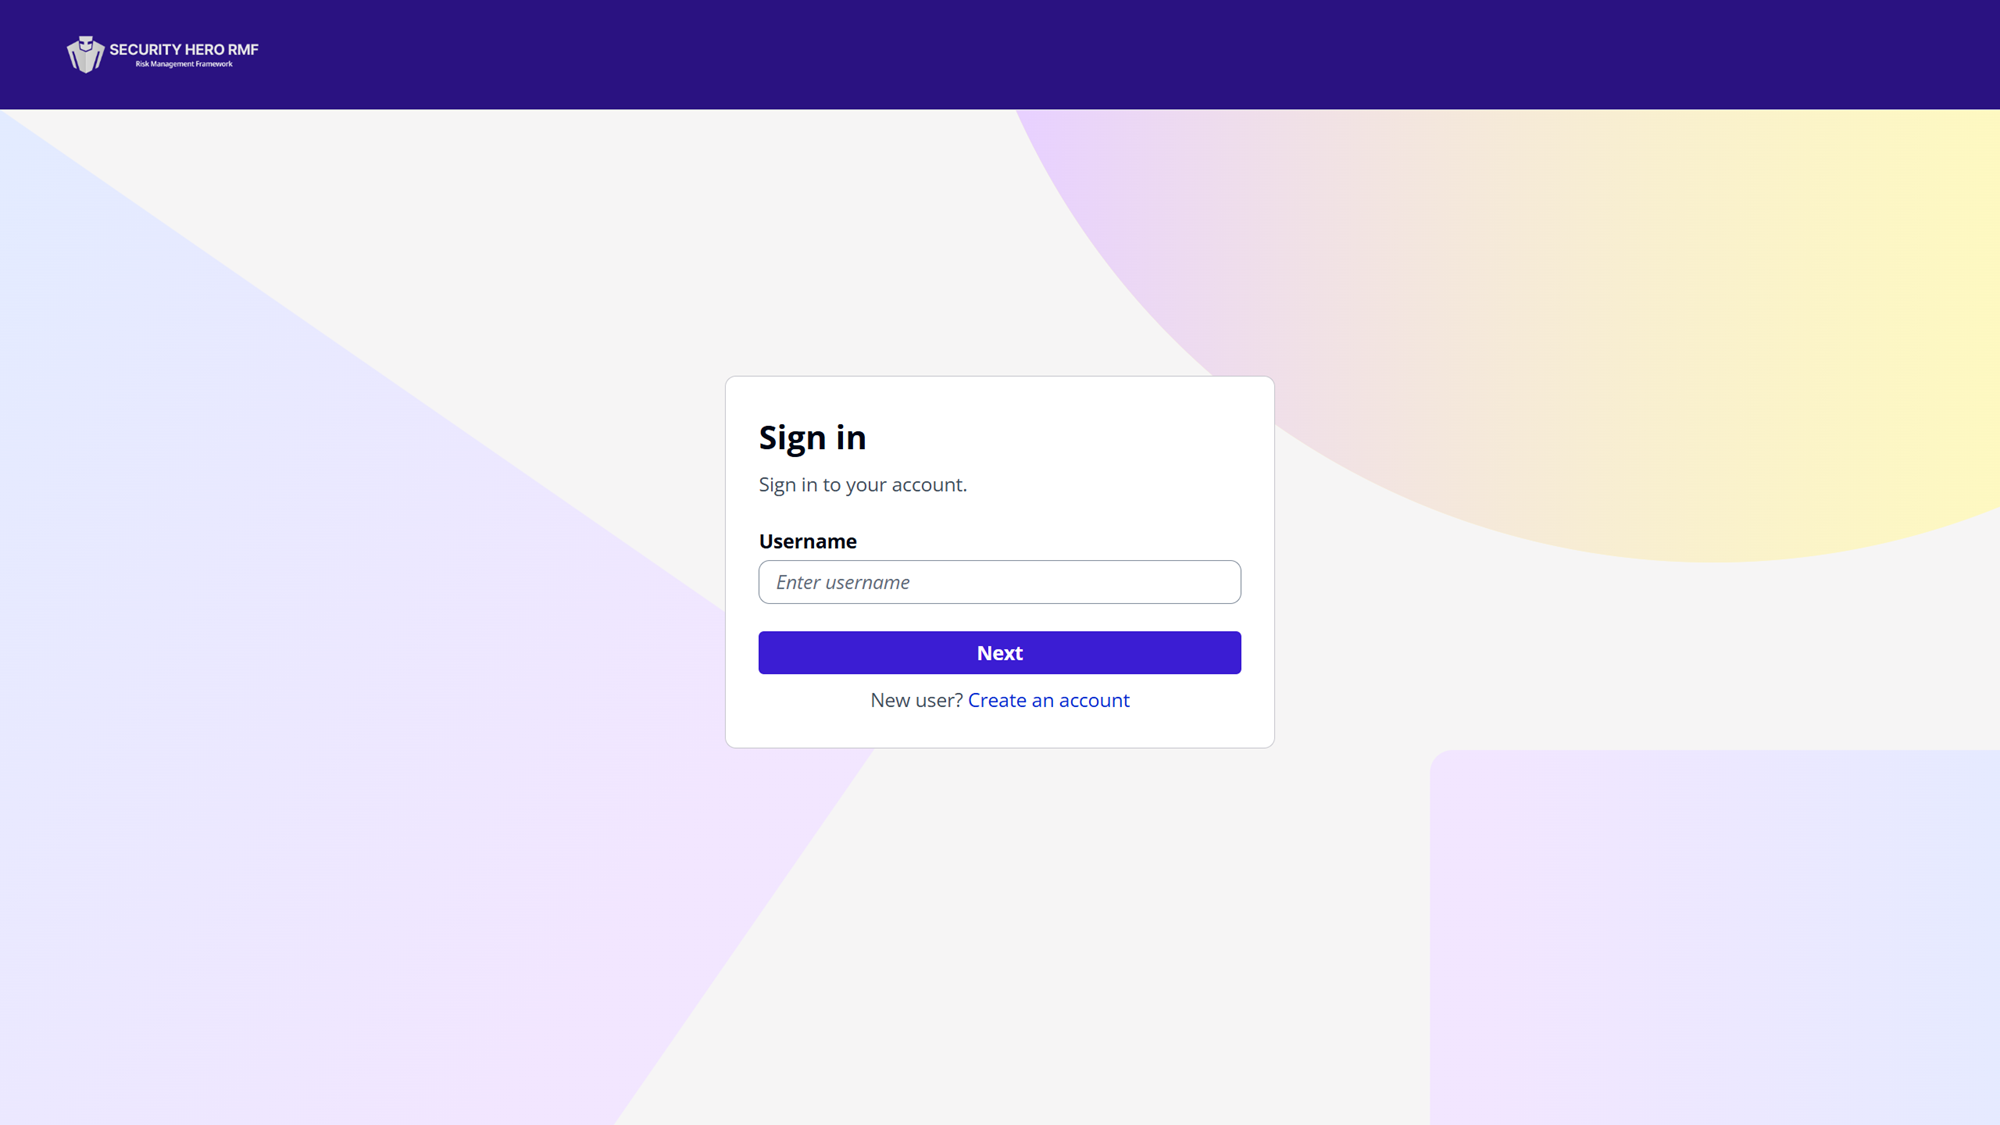
- Done: On success, you will be automatically redirected to the login page after about 3 seconds.
For strong security, passwords must meet all of the following requirements:
- ✅ At least 8 characters
- ✅ Contains uppercase letters
- ✅ Contains lowercase letters
- ✅ Contains numbers
- ✅ Contains special characters
Step 2: First Login & Project Creation
 After logging in with your Security Hero RMF account, create a project and select a region as the unit of analysis.
- Log in: Sign in with the account you created in Step 1.
- Select project / region:
- Enter a Project Name.
- Select the Region where the assets you want to analyze are located.
- Enter the project: After creating the project, click the View Details button on the project card to enter it.
Step 3: Connect Your AWS Account
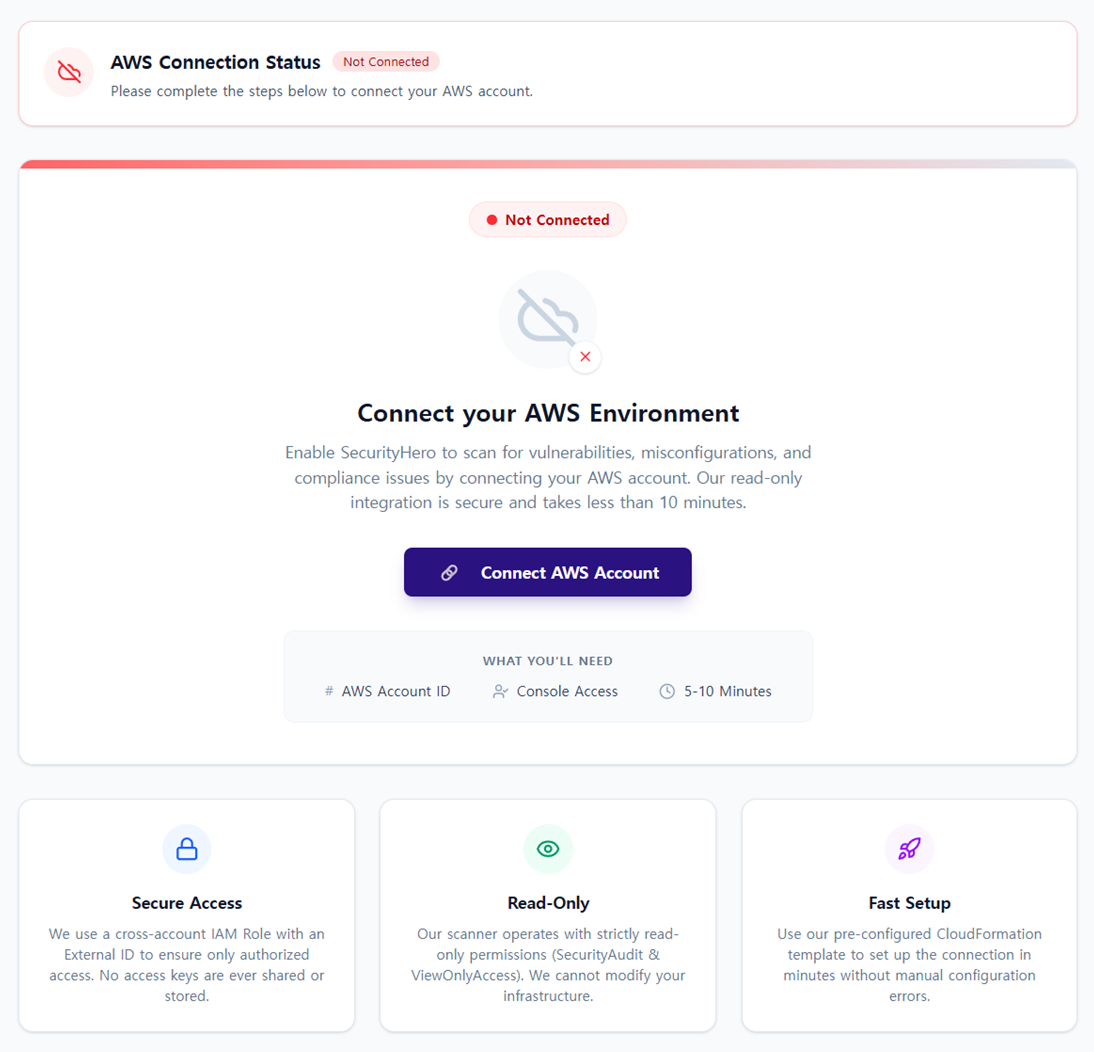 If the dashboard shows
 AWS Account Not Connected after entering your project, you need to connect an AWS account.
Before connecting your AWS account, you must first enable Resource Explorer in the AWS Console. Security Hero RMF relies on Resource Explorer to discover assets — synchronization will not work properly without it. For details, see Project Settings > Enable Resource Explorer.
- Enable Resource Explorer: In the AWS Console, navigate to the Resource Explorer service and click Turn on Resource Explorer to complete activation.
- Go to Project Settings: Click
Go to Project Settingson the dashboard, or selectProject Settingsfrom the left sidebar menu. - Prepare to connect: Click
Connect AWS Account. - Enter Account ID: Enter your AWS Account ID.
- Connect via CloudFormation: Create an IAM Role for Security Hero integration in your AWS Console.
CloudFormation creates a read-only IAM Role that allows Security Hero to query your AWS asset information.
- Connection complete: Once the connection succeeds, your project is linked to your AWS account and all other features become available.
Step 4: Scan AWS Assets
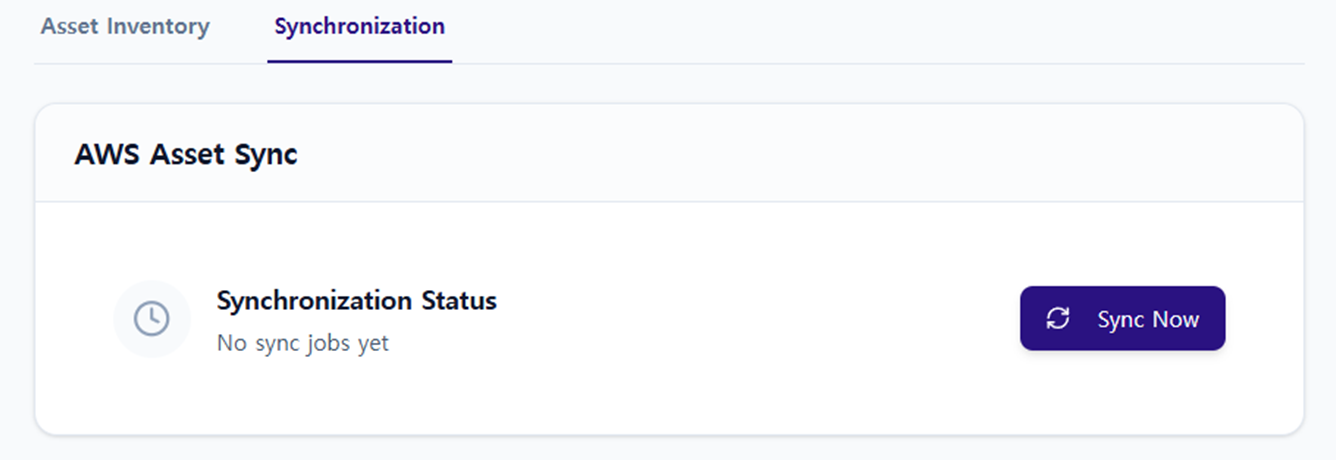 After connecting your AWS account, you can scan assets from the
 Assets menu.
- Go to the Synchronization tab: Navigate to
Assets > Synchronization. - Select scan scope: Specify the services and resource types to scan using Resource Explorer.
- Run synchronization: Click Sync Now to start the scan.
Depending on the size of your AWS account, synchronization may take anywhere from a few seconds to several minutes.
- Review results: View the details of scanned assets in
Asset Inventory.
Step 5: Run a Risk Assessment on Scanned Assets
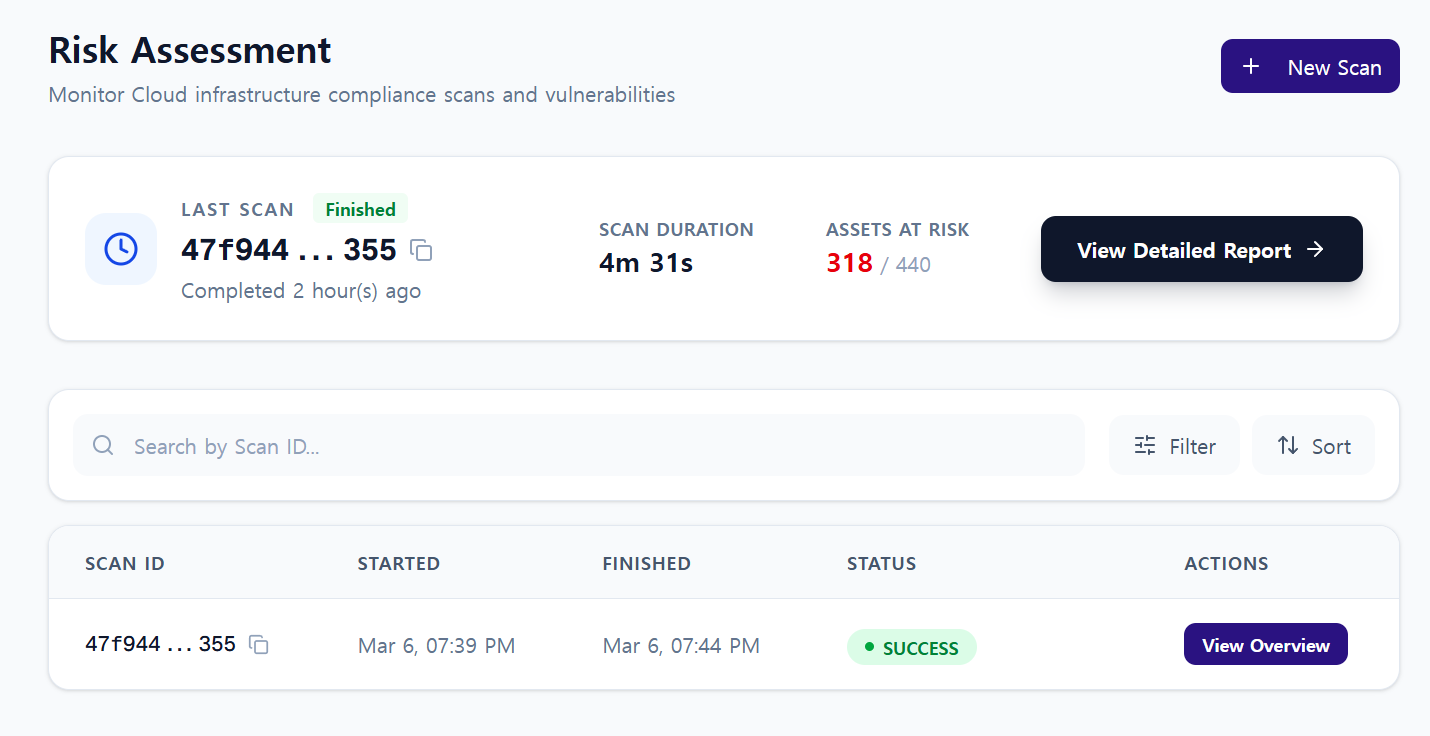 Once the asset scan is complete, the security scanning engine (Prowler) evaluates each asset against AWS security best practices and compliance standards (such as NIST).
- Start a scan: Click + New Scan on the
Risk Assessmentpage. - Run the assessment: Risk levels and security check results are analyzed based on the scanned assets.
Depending on the size of your AWS account, a risk assessment may take 5 to 10 minutes.
- View detailed results: Once complete, click View Detailed Report to see the full results.
In the detailed results, you can review the following information per asset:
- Risk level
- Check results and compliance status (PASS/FAIL)
- Control/NIST requirements for security improvement
Security Hero RMF includes a Topology feature that visualizes the network structure and relationships between assets in your AWS environment as a graph.
The Topology feature consists of two graphs:
- Network Graph – Network-centric asset relationship analysis
- Asset Graph – Permission-centric asset relationship analysis
Step 6: View the Network Graph
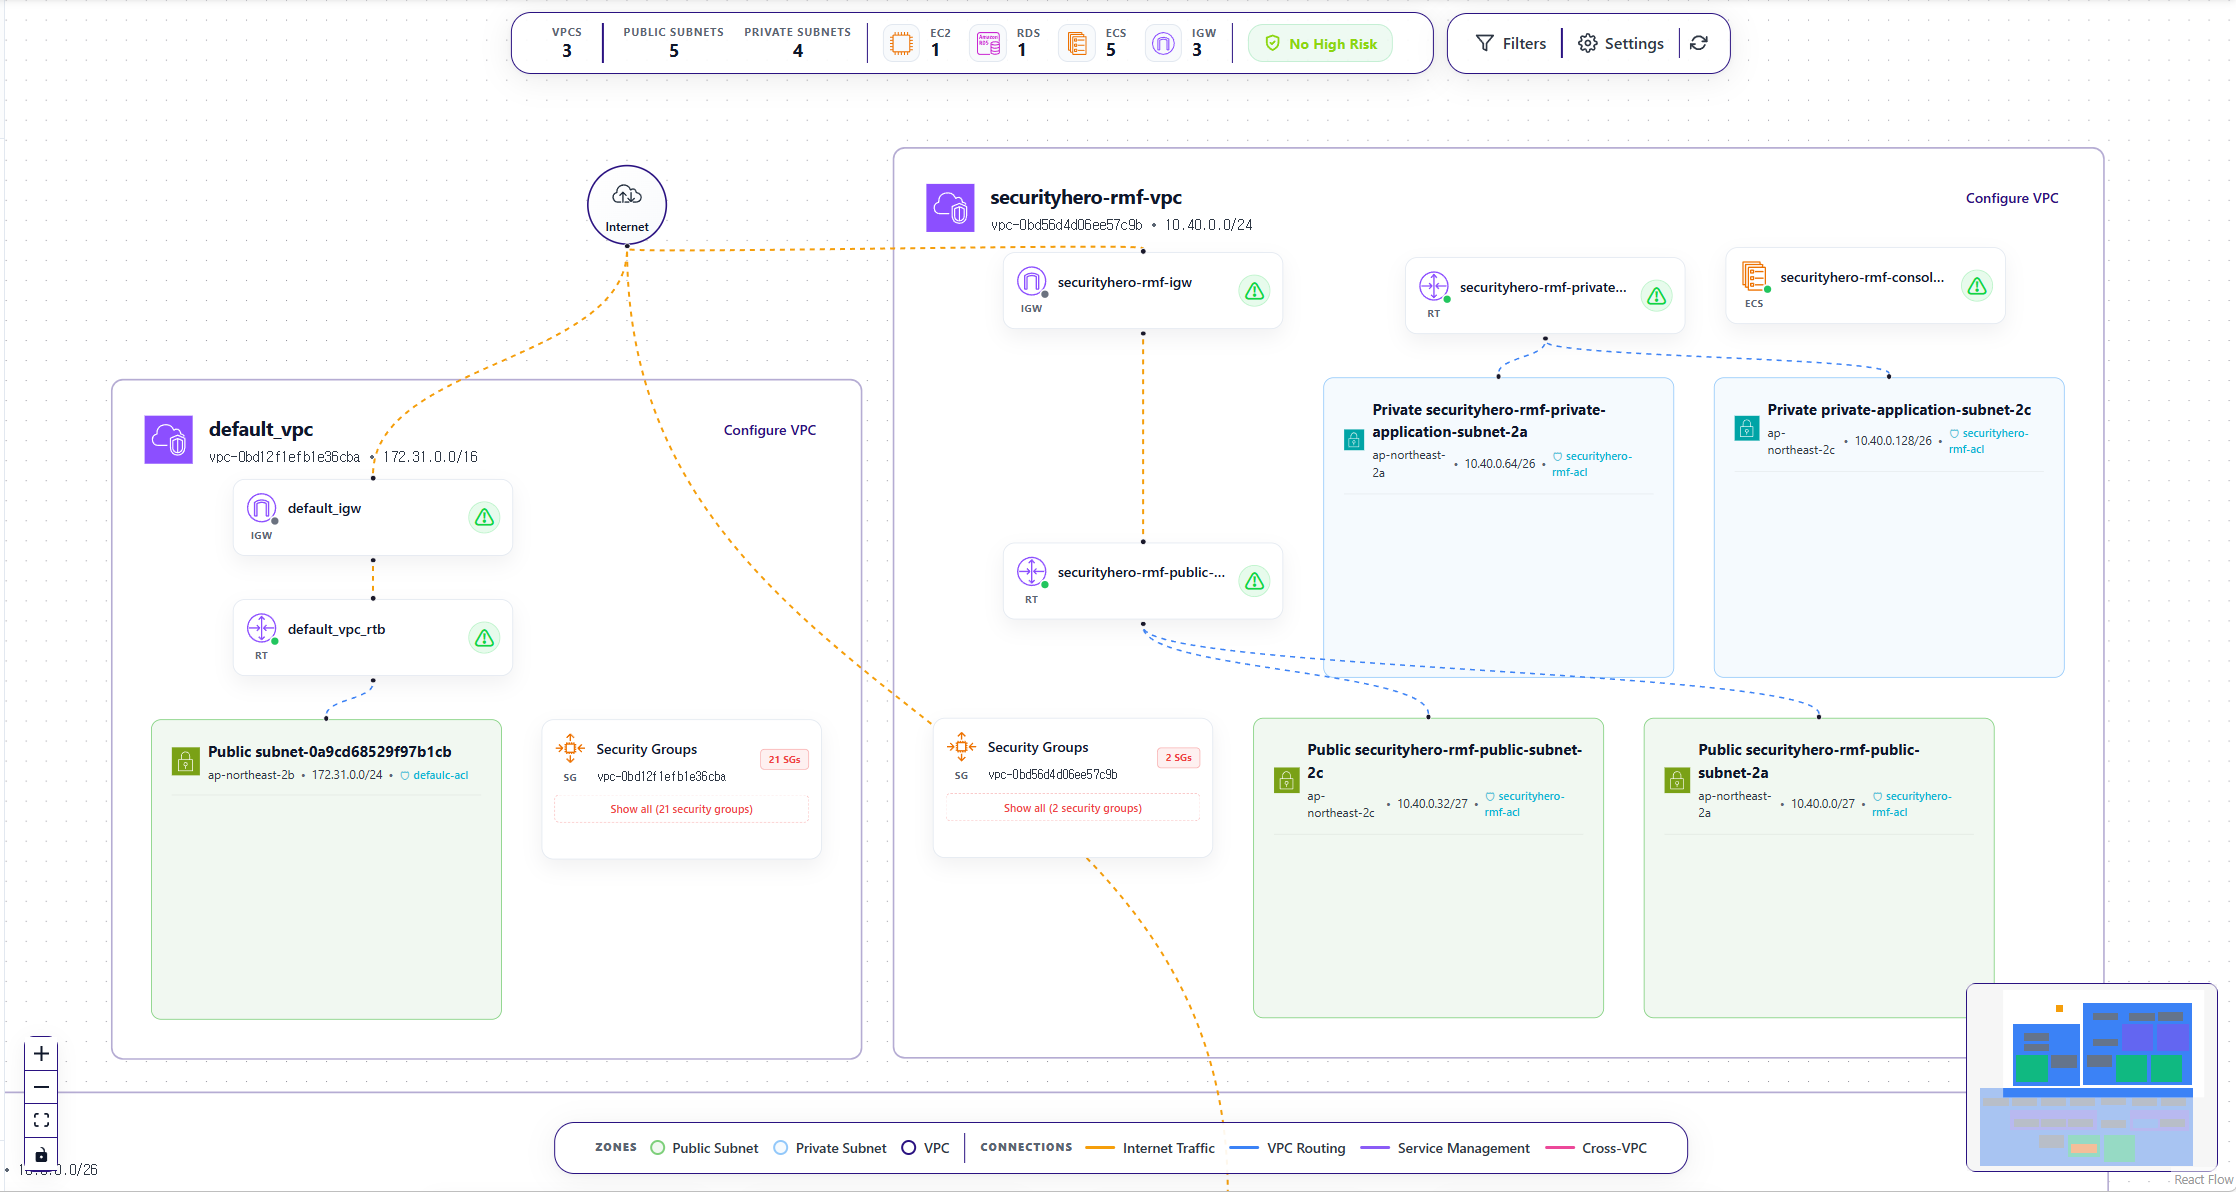 The Network Graph visualizes network-related assets and their connection flows among your scanned assets.
- Explore the graph: Review the network topology centered on VPCs and Subnets.
- View asset details: See a full risk summary for each asset (when a risk assessment has been run), detailed asset and network information, and path analysis results.
Step 7: View the Asset Graph
The Asset Graph visualizes relationships between AWS assets as a graph, including not just network assets but also IAM roles, policies, and other permission-related resources.
This lets you see at a glance who has what permissions over which assets in your AWS environment.
- Explore the graph: View relationships between various AWS assets such as IAM Roles, Users, and Policies.
- Analyze permission relationships: Understand the flow of permissions through the asset connections.
- Identify security insights: Detect security risks such as admin privileges, excessive permissions, and wildcard permissions.
Step 8: Review the Risk Assessment Report
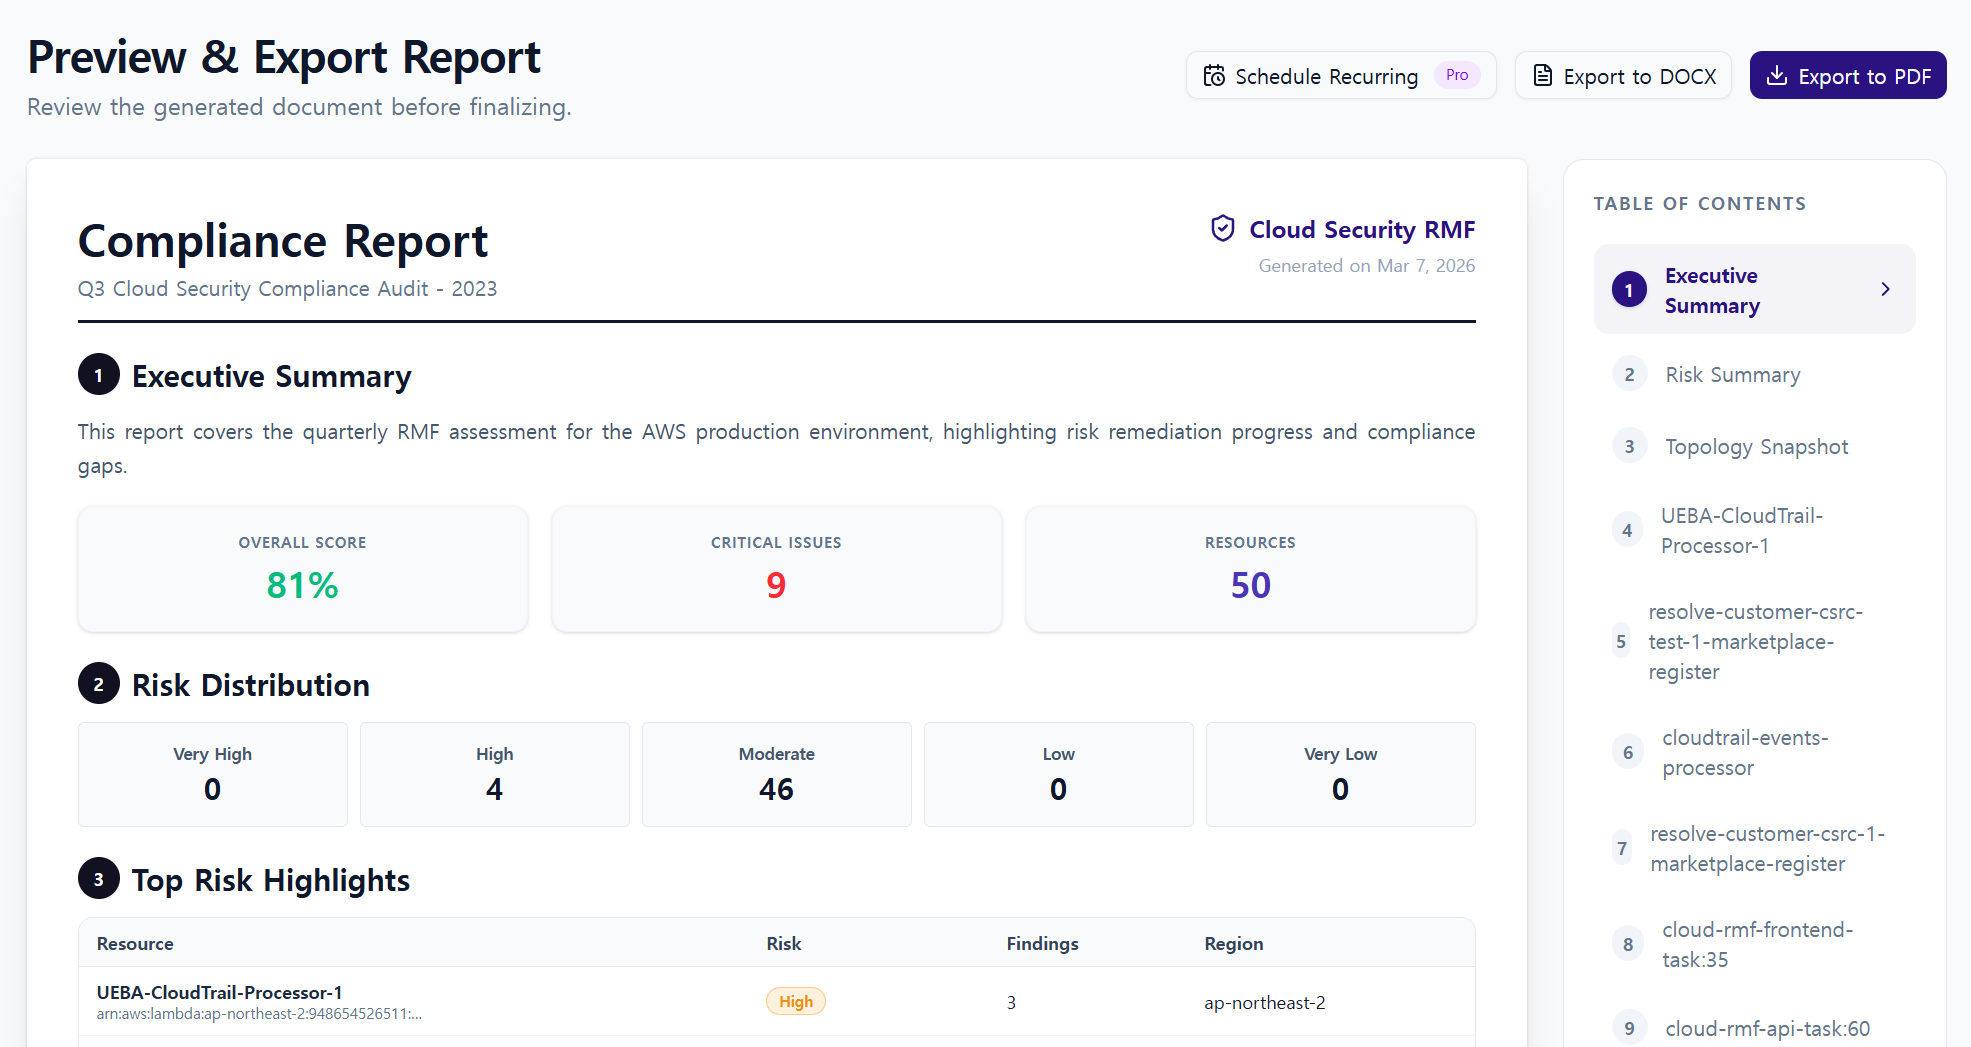 Once the risk assessment is complete, you can generate and download a report based on the results.
- Select a project and scan result.
- Choose the assets and assessment items to include in the report.
- Customize the cover title, description, and included sections to match your needs.
- Preview the report, then export it as PDF or DOCX.
Next Steps
To learn more about Security Hero RMF's key features, refer to the following documents: